Wrapping a vehicle is a multi-step process that involves careful planning and a professional hand. Here at Cascade Wraps, it all starts with a vision. Experienced designers will talk with a client about their goals, their business, and their brand. We take careful measurements, accounting for any customizations so we can make sure we’re designing your vinyl vehicle wrap to fit your specific vehicle.
From there, we begin the step-by-step process of art creation for the vehicle or fleet.
Designing Your Vehicle Wrap
We process, sketch, and then digitally design something eye-catching and memorable. (There are some definite dos and don’ts in vehicle wrap design.) We consider all viewing angles, where the breaks fall when a door is open, and then finesse the details. This creative process is often where mediocre ideas, turned over, brainstormed, and then transformed into a distinctive design. When designing your vinyl vehicle wrap, we treat it like it’s going on our own car.
Printing Your Wrap
Then we send the design to the client for a once over, address any concerns, and talk through best practice. Once the client approves the design, we schedule an install date and begin the physical process of physically creating the wrap. The approved design moves from the computer to the large-format printer, and section by section the wrap design rolls out on top quality vinyl. We laminate the vinyl to extend the life of your wrap, and then trim the edges so the color fully extends the full width of the wrap. We’re ready for the vehicle!
Installing Your Wrap
On installation day, our team scrubs down the vehicle to remove road grime and anything else that may hinder the wrap from fully adhering to the surface of the vehicle. Then we dry it thoroughly by hand, double checking for any remaining dirt. Finally, the best part of the job begins — the visual transformation.
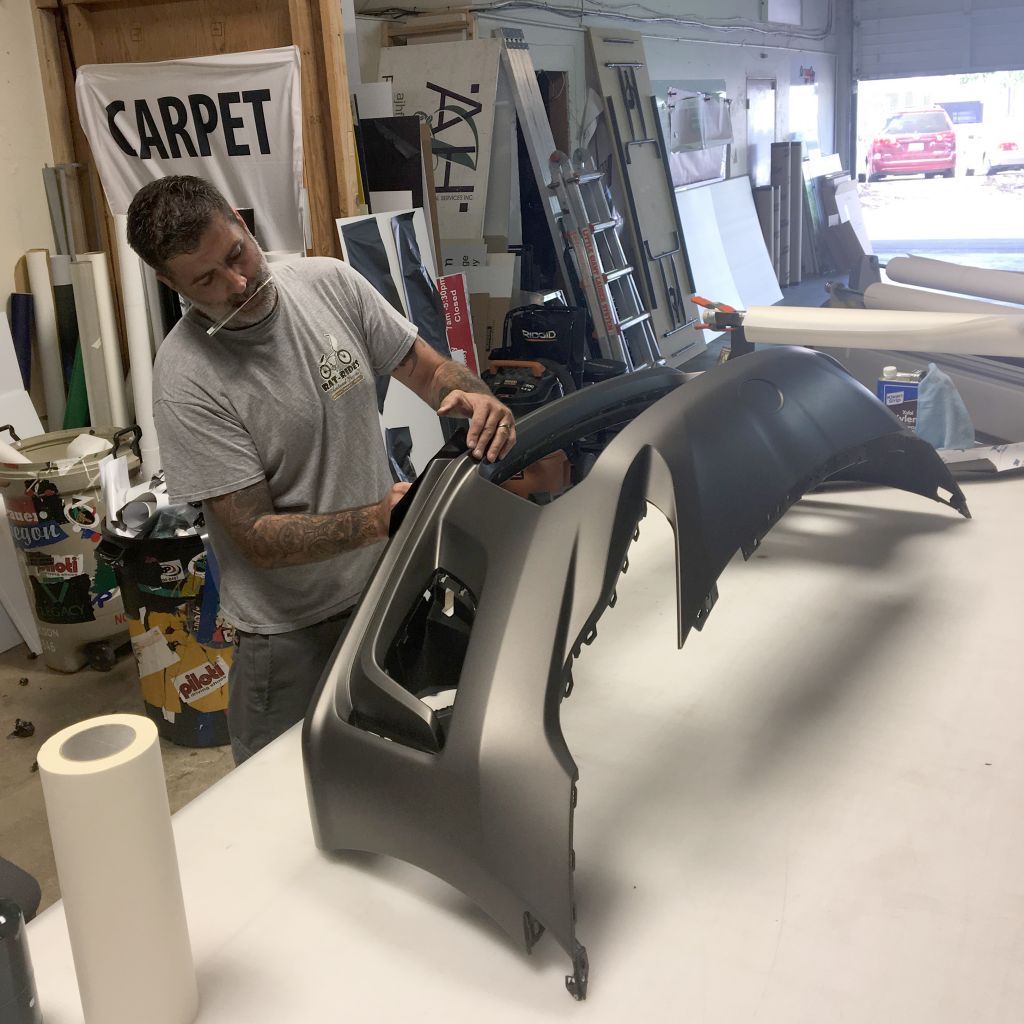
We drive the vehicle into our shop to ensure a clean, dust-free application area. Our team lines up the design using a tape measure to accuracy, and then checks every detail to make sure every line lays exactly where it should. section by section, piece by piece, we peel off the backing and lay the vinyl tightly onto the vehicle. A bevy of squeegees makes quick work of any air bubbles and a hot air gun allows us to stretch the vinyl around curves. A pen knife removes the edges. Any overlaid vinyl text is applied on top of the wrap using transfer tape and a steady hand.
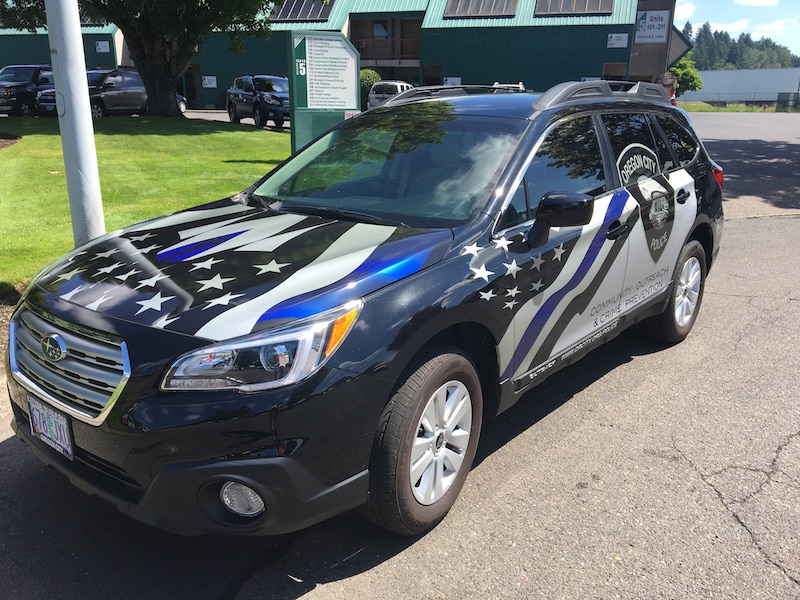
Once we make the final inspection, we drive your vehicle out of the shop and present to you your completely transformed car. The client’s first walk around inspection is one of our favorite moments — most can’t believe the difference! And the best part? The ROI begins as soon as you pull out of our parking lot!